
Do you have a piece of IKEA furniture that needs some updating?!
I’m going to show you how to update IKEA furniture using chalk paint and simply changing out the hardware. If you follow me on INSTAGRAM then you gotta see this project happen in real time! It only took me one weekend and was super inexpensive.
If you still want to see those stories you can pop over to Instagram and click on the icon in my stories highlight that says “DRESSER RENO”.
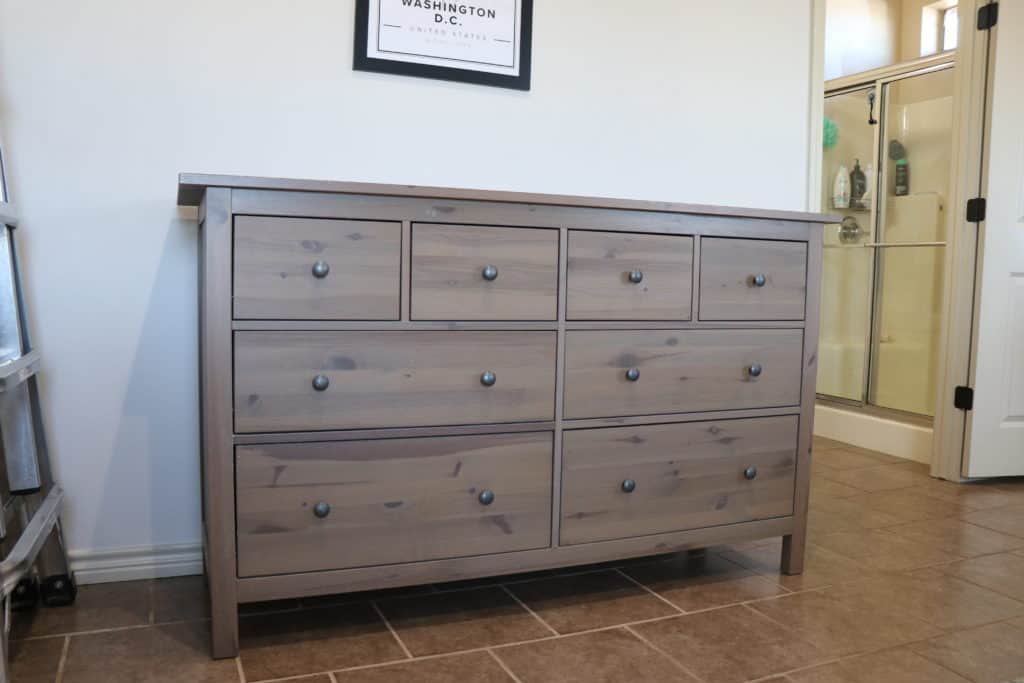
Before we get started I just wanted to put it out there that this design was inspired by Angela Rose Home on instagram. A few months back she had flipped her same IKEA Hemnes dresser. And for over a year I have been stomped on how I wanted to makeover ours (it was in rough condition).
I’m pretty indecisive when it comes to picking something as big as painting a piece of furniture. But, I instantly fell in love with this makeover. Also it did help that I already had everything for this makeover but the new hardware.
So it was a win win for me! If you prefer more of a visual guide to this furniture makeover you can watch the Youtube video up above or go straight to my Youtube HERE!

[AFFILIATE LINKS ARE PROVIDED BELOW FOR CONVENIENCE. FOR MORE INFORMATION SEE MY DISCLOSURE HERE.]
Materials List
- RUST-OLEUM CHALK PAINT
- RUST-OLEUM CLEAR FINISH
- PAINT TRAY
- ROLLER & FOAM ROLLER
- PAINT BRUSH (this is my absolute go to brush)
- PAINT CAN OPENER OR FLATHEAD SCREWDRIVER
- PAINTERS TAPE
- WOOD FILLER
- SANDING BLOCK OR ORBITAL SANDER
- HARDWARE (this was the cheapest I could find of this style)
- 1x2s
- NAILS
- A WAY TO CUT YOUR WOOD (or have your local hardware store do it)
RELATED: Check out my Must-Have Power Tools for Home DIY post if your just getting started with your tool collection.
How Do You Chalk Paint an IKEA Dresser
Step one of chalk painting your IKEA dresser is to prep your furniture.
Don’t skip this step! When using chalk paint there isn’t as much prep work than if you were using another type of paint. But, it’s still crucial that you do some type of prep work to your surface.
It seriously will never hurt to go above and beyond and prep your furniture.
If you have a shiny finish I would suggest you sand your surface so the paint has something better to stick too. It doesn’t have to be a huge job either, as long as you rough up the surface with a sanding pad or your orbital sander you should be good. If you plan to change up the legs like I did then you will want to remember to sand your legs first before applying any paint to your furniture piece.
After you sand your surface (or even if you didn’t have to sand) you need to wipe it down with a wet rag or tack cloth. You want to make sure that there isn’t any dust or lint on your furniture.
Next, you are going to want to remove your hardware. If you plan on keeping it I would put it in a ziplock bag or basket that way you don’t lose any of the screws or knobs. I always saved my hardware and repurpose most of what I save on other projects.
What Do you Use to Fill Holes in Wooden Furniture?
This step is optional obviously if you are putting your old hardware back on.
If you choose to change out your hardware and need to drill new holes you are going to want to fill the old ones. I used DAP Plastic Wood Latex Wood Filler this time around. At first I was weirded out by the texture as this was way different than the Minwax brand I have used in the past. But, I really like how easy this one was to work with and clean up was a breeze!

After filling all the holes you will need to sand and make sure they are level with the drawer fronts. Then wipe everything down to remove any dust.
A tip for you is to always fill the holes with a little extra wood filler so its raised up more than the drawer front. That way when sanding you don’t sand too much and it dips down. This was my first IKEA furniture flip filling holes and now that I have done more flips I would say I could have done a better job at this step. So learn from my mistakes.

How Do You Chalk Paint an IKEA Dresser?
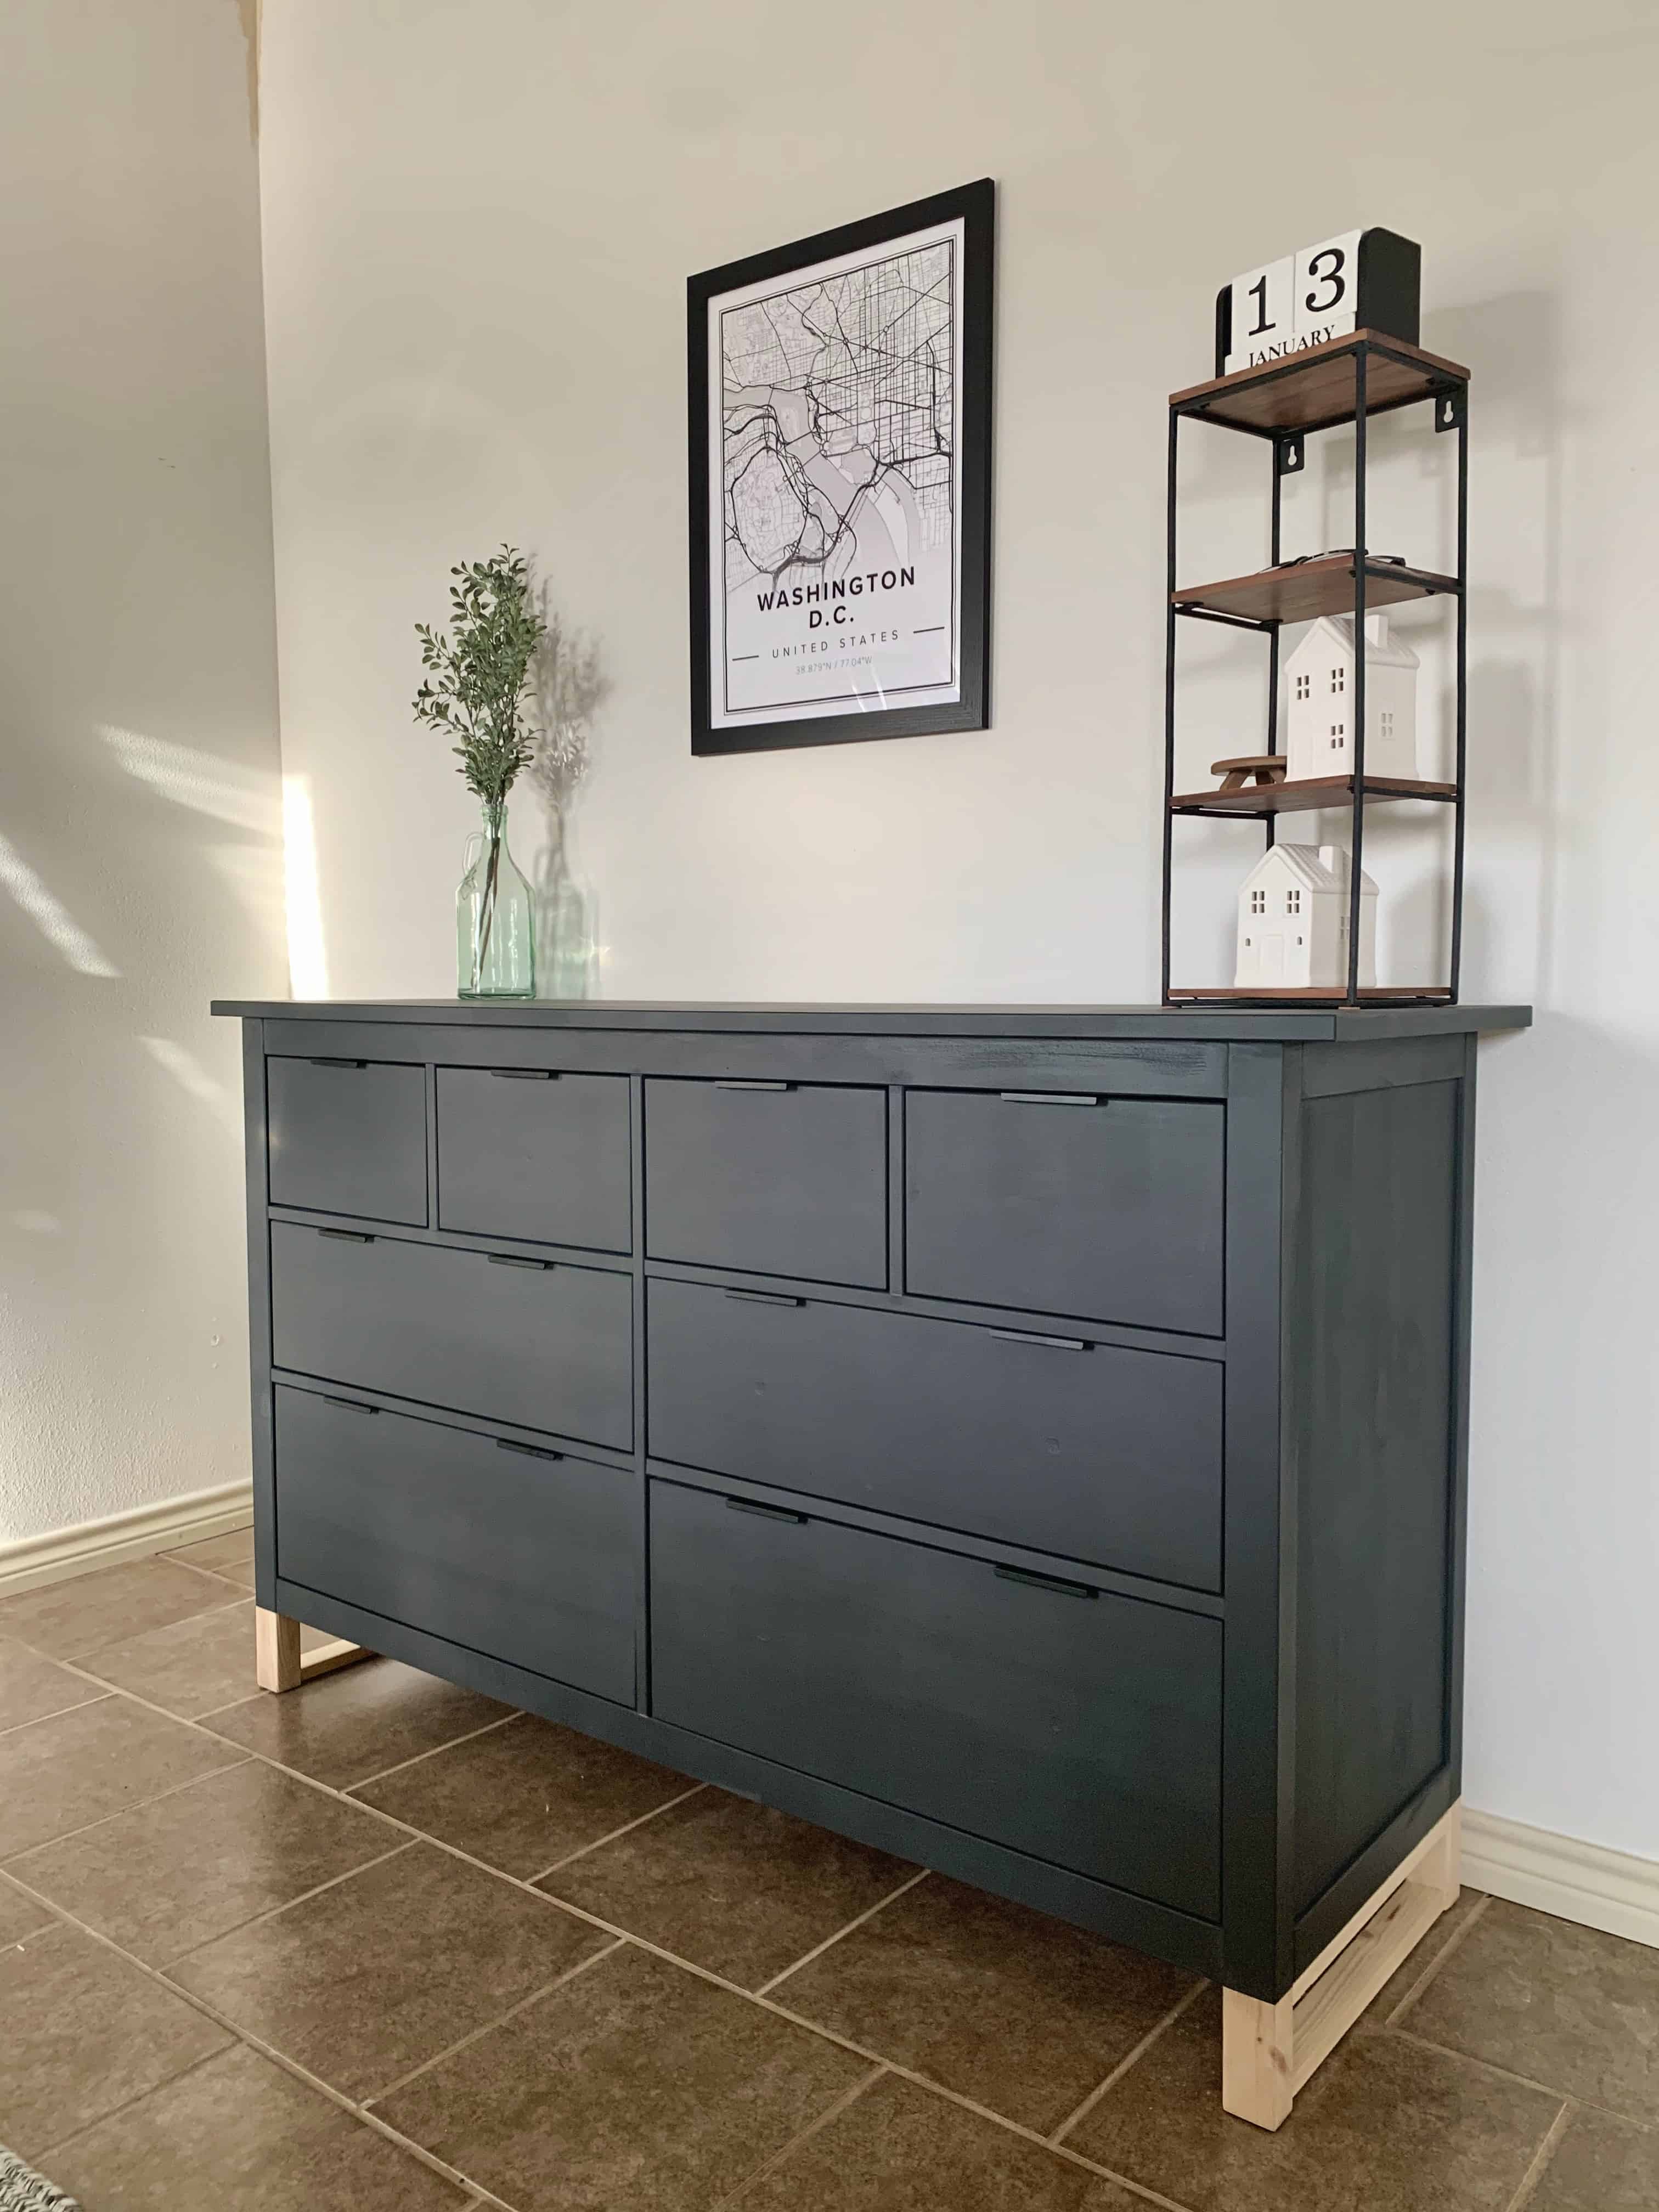
This is where the magic happens and that’s painting your furniture piece! With the chalk paint I used I did two coats total. Rust-Oleum Chalked Paint is a very smooth finish & I actually used it on our spare bathroom vanity which you can read about HERE.
Lastly, if you are going to do something fun with the legs of your furniture like I did remember to tape off the legs with painters tape before painting.

After your paint has had time to dry you can apply the top coat. I used Rust-Oleum Ultra Matte Protective Topcoat. I didn’t want a shiny finish so I ended up picking a matte finish and was very pleased with the end result. 2 coats of this protective topcoat is recommended.

Hardware
After your topcoat is dry then you can add your hardware back on. If you plan on adding new hardware you are going to need to measure and mark the holes for your new additions.
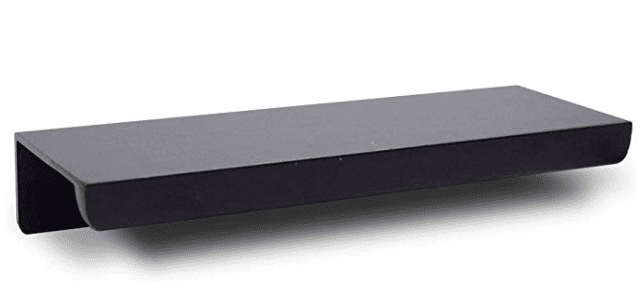
I really liked the pull style type of hardware and I spent a good portion of my morning trying to find the cheapest option.
After searching Home Depot, Lowes, Wayfair and Amazon I found these ones HERE! I liked this option because it was the only ones I found that gave you the choice on how long you wanted them. I ended up going with the 4 inch pull. Sadly I had to buy two packets because I needed 12 pulls total. Each pack is a package of 10. Go figure!
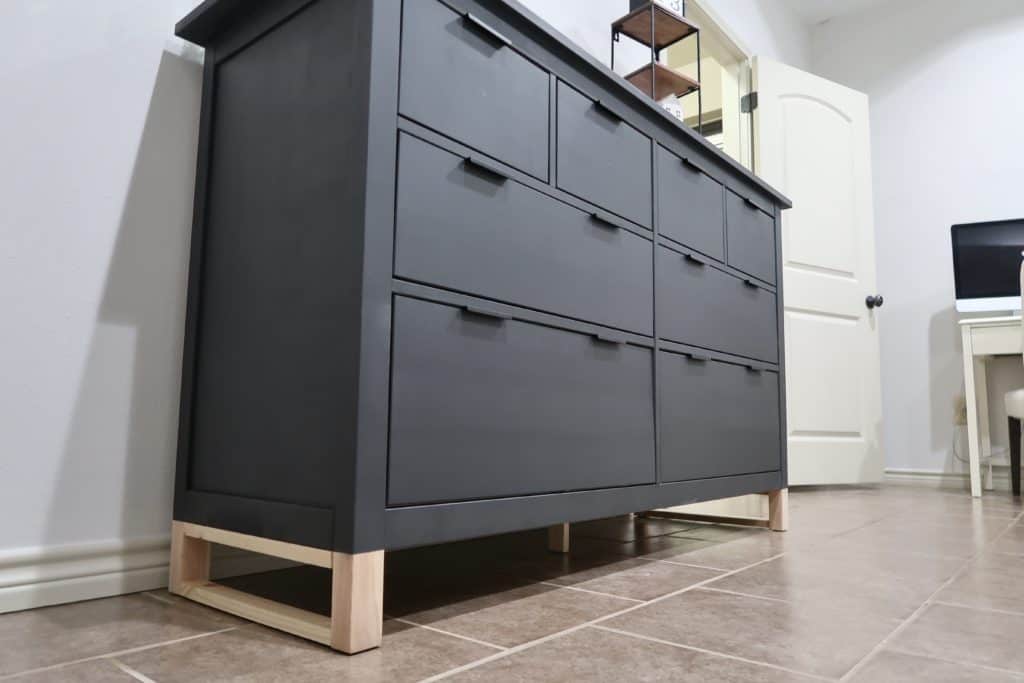
Adding New Legs to Your IKEA Furniture
If you don’t plan to change up your legs on your furniture piece than you are complete! You now have a brand new piece of furniture.
If you want to do something similar to what I have done then you are going to need a couple 1X2s. It’s as easy as measure, cut (or have your local hardware store cut it for you) nail into place & DONE!

I decided not to stain my legs and just left them all natural! I’m kind of digging the natural wood look lately.
Up above is a video tutorial for all you people that need a visual. (that’s me LOL) I thought filming this whole process would help to see exactly how long it took me and how easy this DIY really was.
See that was painless, easy, and cost you a 1/4 of what a new piece of furniture would have been.
Paint is a magical thing and it can transform just about anything for less. I hope you enjoyed this How To update IKEA furniture tutorial & if you updated any of your furniture send me a picture by email or direct message me over on instagram! I would love to see what your creating.
